
반응형
0️⃣ 서론
간단하게 React CDD 와 storybook 에 대해서 실습을 진행해보았다.
React 하나도 모르지만... Spring Boot 로 혼자 프로젝트 만들면서 한번 프론트쪽도 해보고싶어서 도전해보는김에.. 공부해보려고 한다.
1️⃣ 개발 환경 구성
[ Node.js / npm 설치 ]
맥 기준으로 설명을 하면 brew 를 통해서 간단하게 설치가 가능하다.
brew install node # macos에서 node 설치
node -v # node 설치 확인
npm -v # npm 설치 확인
[ create-react-app 설치 ]
npm install -g create-react-app
npx create-react-app --version # create-react-app 설치 확인
2️⃣ 리액트 프로젝트 생성 및 의존성 설치
[ create-react-app 을 이용한 프로젝트 생성 ]
npx create-react-app cdd-app --template=typescript
cd cdd-app
[ @emotion/react @emotion/styled 설치 ]
npm install --save @emotion/react @emotion/styled
[ tsoconfig.json 수정 ]
{
  "compilerOptions": {
    ...
    "jsx": "react-jsx",
    "baseUrl": "src"
  }
}* baseUrl 이 설정이 안되어있으면 상대경로로 / 설정되어있다면 절대경로로 찾도록 해주는 것
[ 시작 ]
npm start
3️⃣ 코드 스타일 설치
[ 코드 formatter / 스타일링 도구 설정 ]
npm install --save-dev prettier eslint
[ app 설정 / eslint 설정 진행 후 ]
npm install --save-dev @typescript-eslint/parser@6.11.0* -dev 를 통해서 dev-dependency 로 분리해줌
npm run format # Prettier 검사
npm run lint # ESLint 검사
npm run format:fix # Prettier 수정
npm run lint:fix # ESLint 수정
4️⃣ 스토리북 시작
[ 스토리북 설치 ]
npx sb init --builder webpack5
[ 스토리북 실행 ]
npm run storybook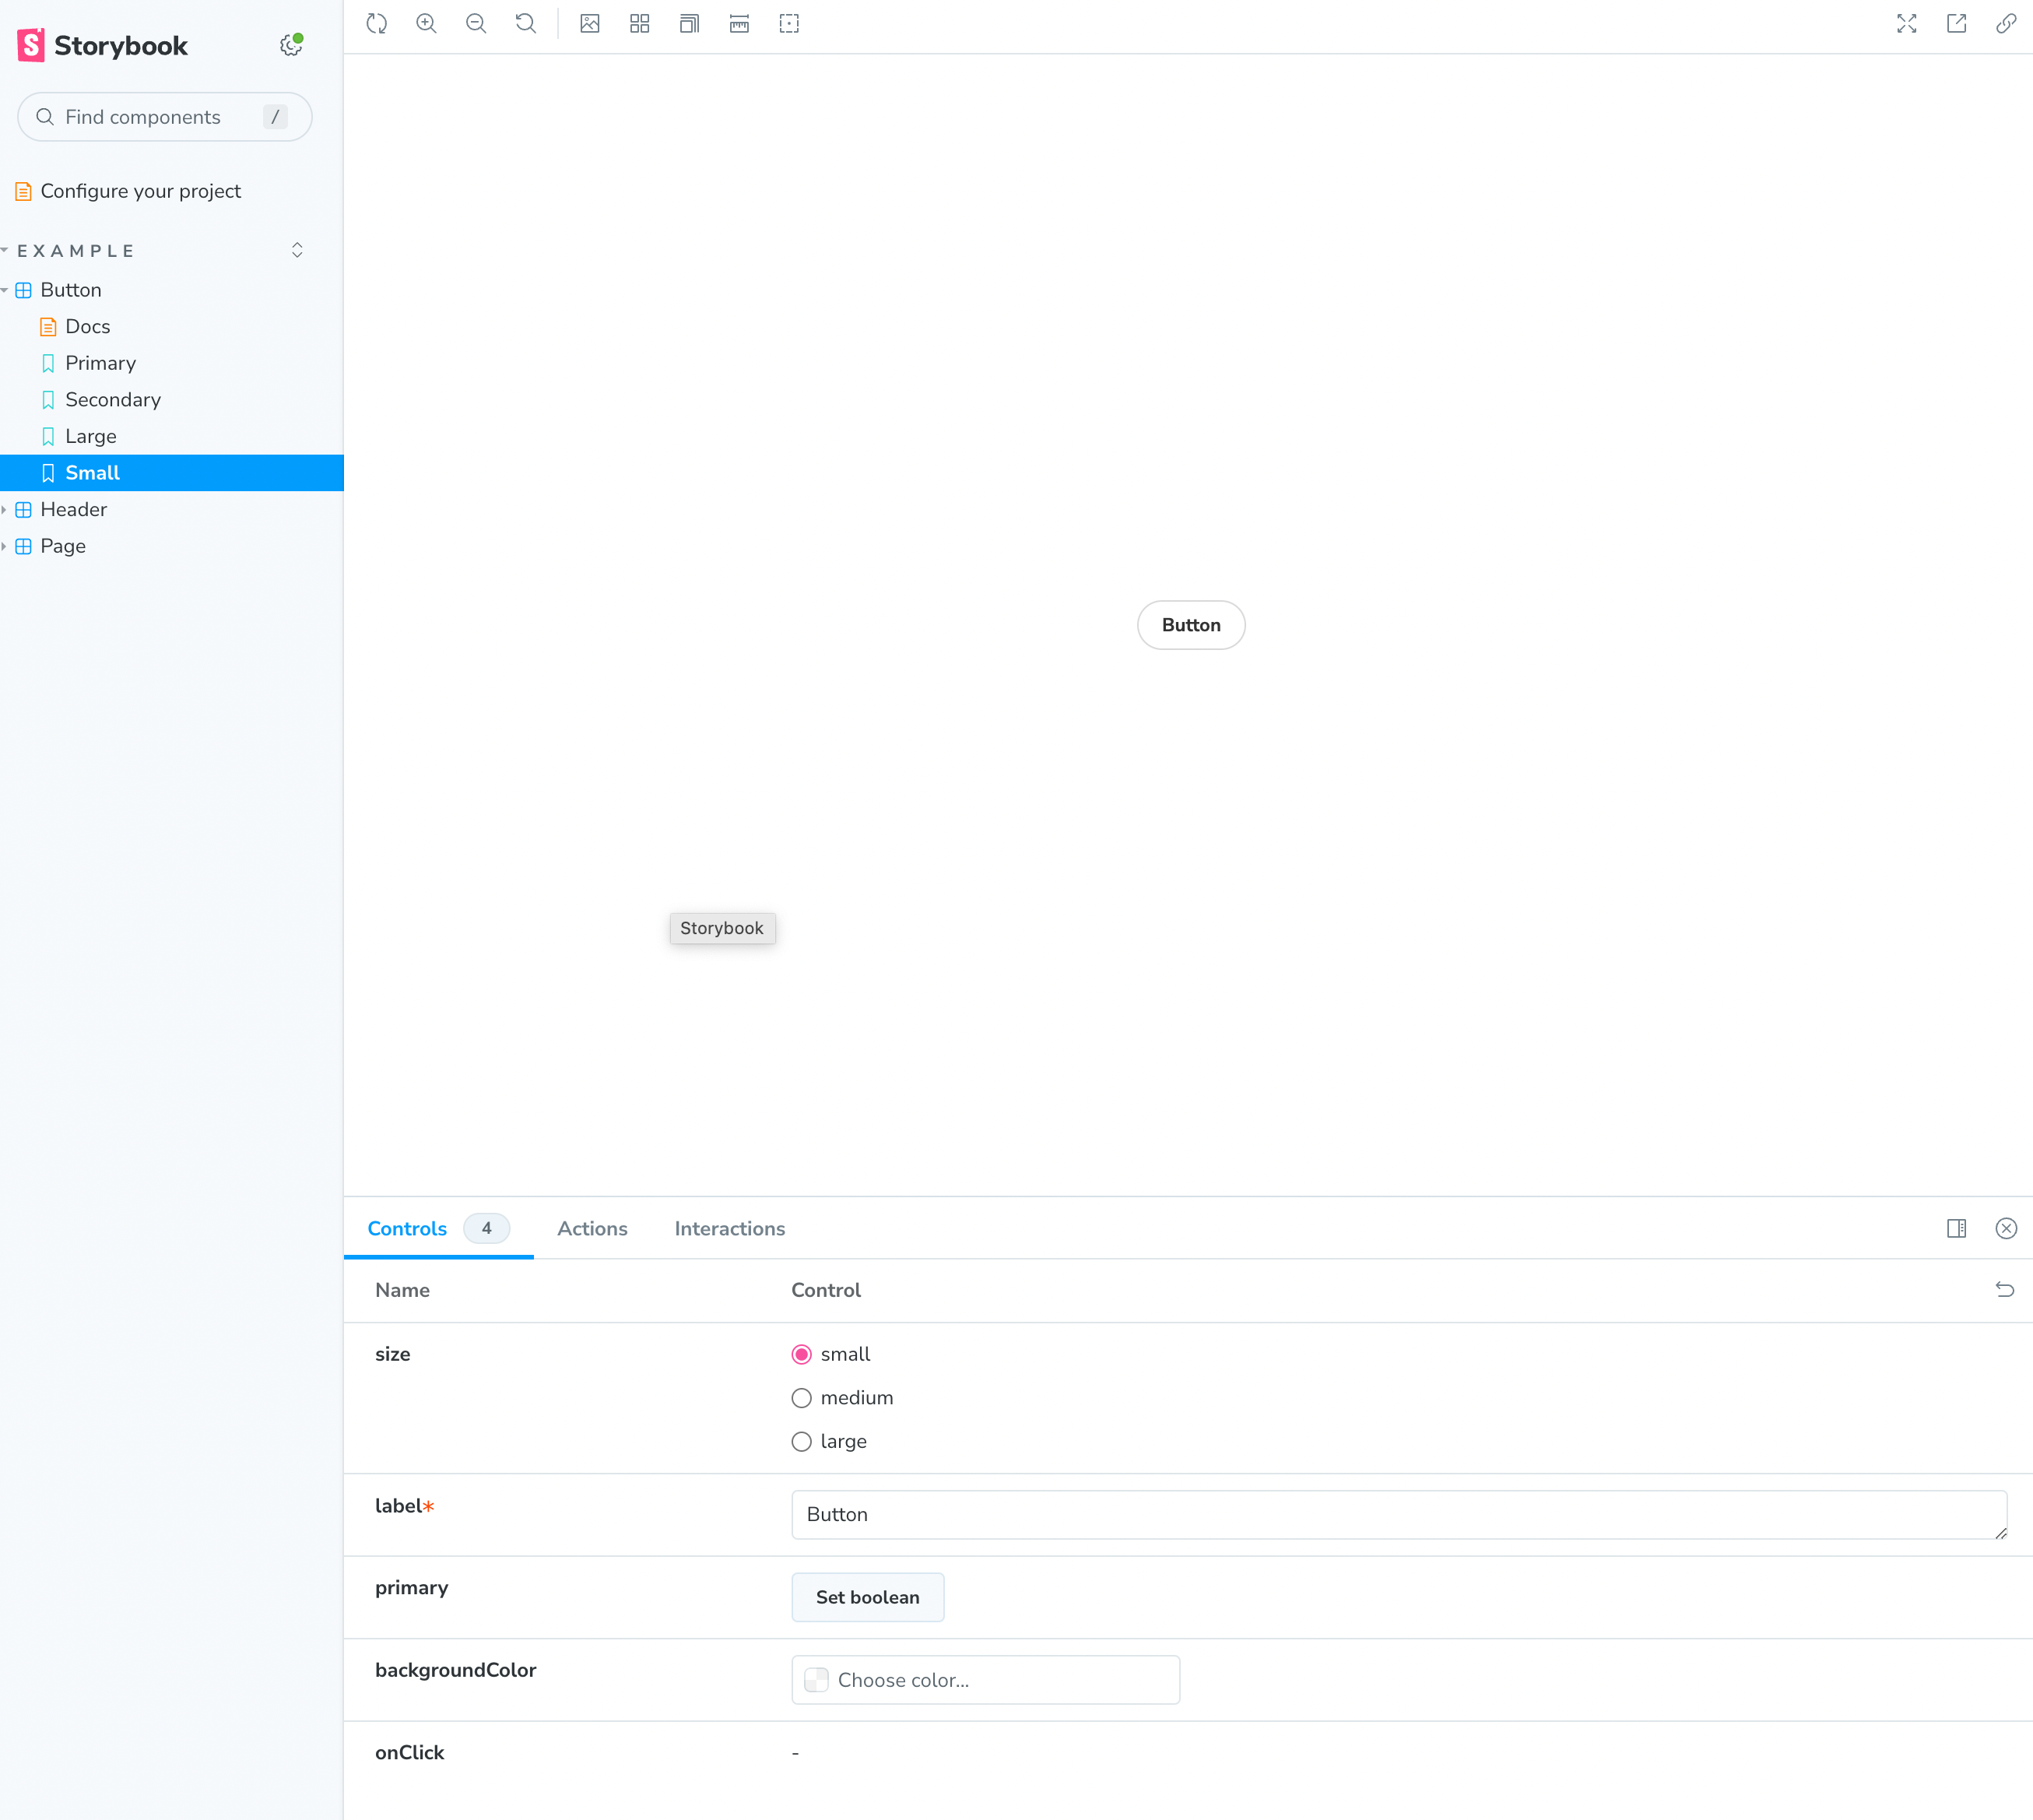
반응형